Access Groups: Creation and account assignment
This page goes through an example of Access Group creation, account assignment, and the application of tags.
Access group creation
Navigate to the Admin > Access Groups tab, select the + Access Group button, and go through the configuration options. As described previously, these groups are based on existing teams or users with similar access. If you successfully configured the Active Directory’s Domain Groups, you can specify the login_groups tag and value here. Or specify a custom Tag, such as "Team: Alpha".
You can also select Roles if you already know which should be applied. Otherwise, it can be ignored for now.
Submit the form once the group configuration is complete.

Unlike an Account, you can specify the login_groups tag on an Access Group shown in the picture above.
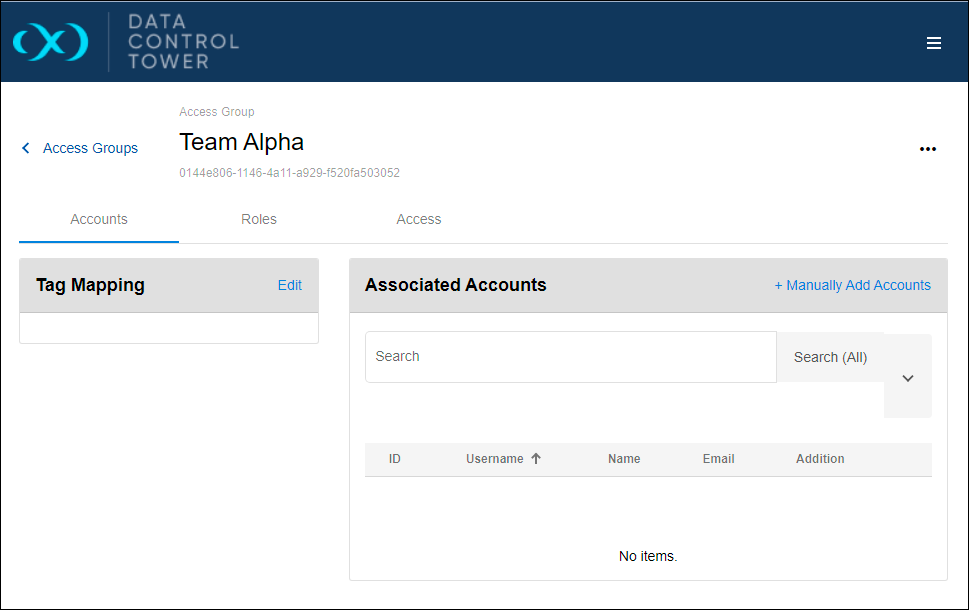
On completion, you will be presented with a page similar to the one below. Proceed to add associated Accounts.
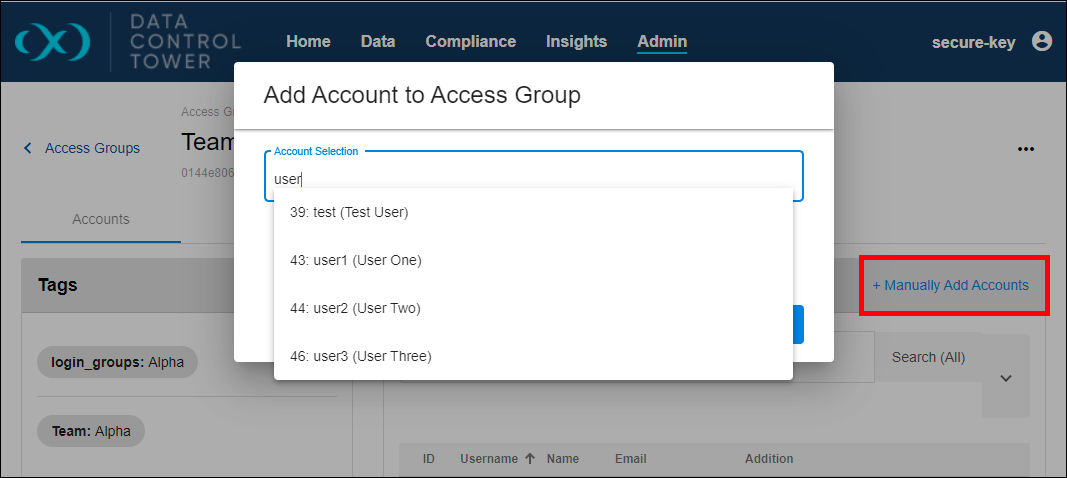
Manual (Direct) Assignment
Select the + Manually Add Accounts button, select the desired Account, and then Add Account. It will immediately be presented in the Associated Accounts list.
This is a good solution for quick management. However, it can be cumbersome as usage grows. For that purpose, tags can assist.
Tag Assignment
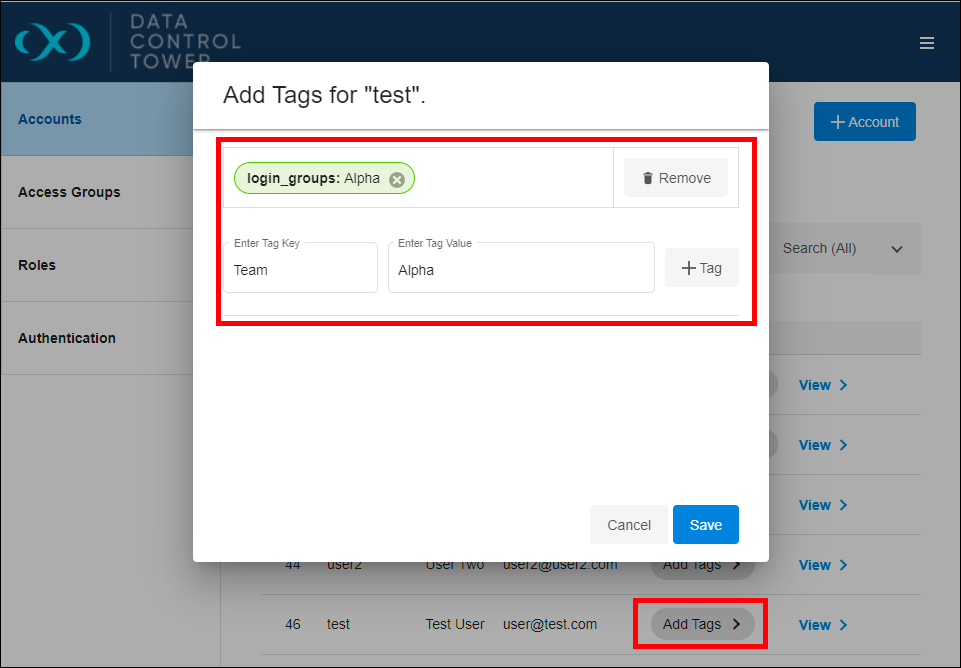
First, navigate to the Admin > Accounts tab and select an existing Account or feel free to create another one. Once selected, add a custom Tag such as "Team: Alpha”. If one already exists on the Account, such as login_groups, remember it.
Next, navigate back to the Access Group, select the Tag Mapping’s Edit button, and specify that same Key: Value pair. It might look similar to the screenshot below.

In this example, “Team: Alpha” and “login_groups: Alpha” were added through the Access Group’s Tag Mapping widget. If configured successfully, your Access Group might look similar to thescreenshot below. If you remove the Access Group or Account’s tag, you will see Account automatically removed from this listing.
The “login_groups” tag functions identically to a custom tag within the Access Group. Again, the only difference is that it's automatically assigned to the Account.

This section taught us how to organize Accounts into different groups. This allows us to keep permission sets separated. Feel free to experiment with new Access Groups, Tags, and Accounts.